
Setting up a static blog using Jekyll
Jekyll’s front page quickstart instructions literally do get you up and running in seconds:
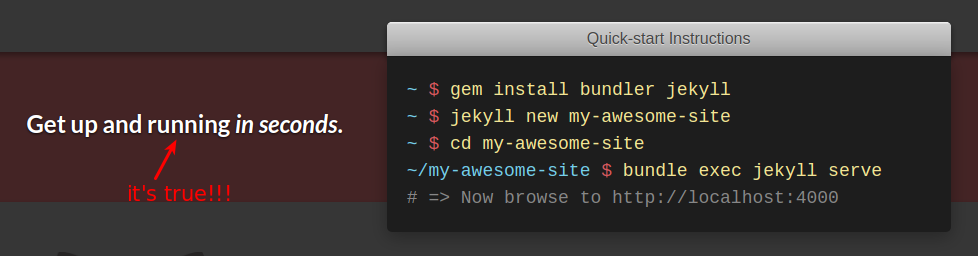
…but if you need a little more guidance, let’s start from the top.
(What’s Jekyll and why might you want to use it for your blog instead of Wordpress? Read this.)
1. Install Ruby and RubyGems
Jekyll is a Ruby “gem”. So before you can gem install anything, you have to install Ruby, and its package manager, RubyGems.
Follow the instructions for your computer here.
RubyGems should come with Ruby by default. If you don’t have it, you can install it separately. Again, the instructions will be platform-specific, so Google around.
(What’s a package manager? gem for Ruby = pip for Python, apt-get for Ubuntu, npm for JavaScript, etc.)
2. Install Jekyll and Bundler
Obviously you need Jekyll. Bundler is a dependency manager for Ruby projects, ensuring that you have the required gems and versions. Install them both:
gem install bundler jekyll
3. Create a new Jekyll site
Run the following command to populate a new folder called my-awesome-site. The newly generated files for your Jekyll site will live here:
jekyll new my-awesome-site
4. Build and locally serve your new Jekyll site
cd my-awesome-site
bundle exec jekyll serve
Let’s break this down. Once you cd into your newly created directory, you run the second line which tells Jekyll to build and serve up your website to localhost:4000.
Actually, running jekyll serve by itself may work. bundle exec jekyll serve simply uses Bundler to run the command instead, ensuring that all required gemfiles are available. You can read more about it here.
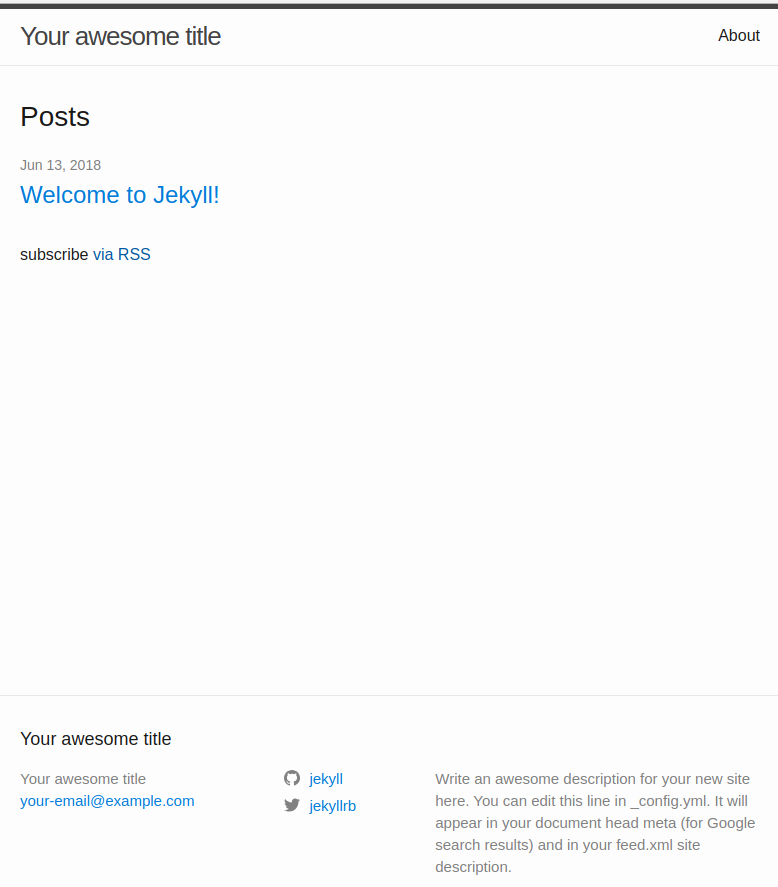
5. Open a browser and go to http://localhost:4000
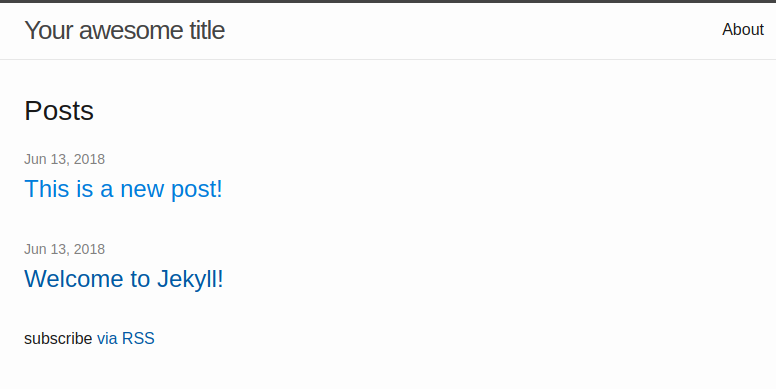
If you’ve done everything right, you’ll have a nice new blog that looks something like this:
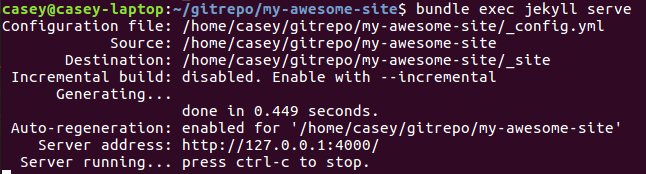
6. Notice that the server is still running!
If you head back to your Terminal where you ran the serve command, you’ll notice that your server is still up and running, and will continue to run until you shut it down using ctrl+c:
While the server is running, any changes that you make to your website’s files will be picked up and re-processed. Any errors that occur will show up in your Terminal as well.
7. Try editing a post
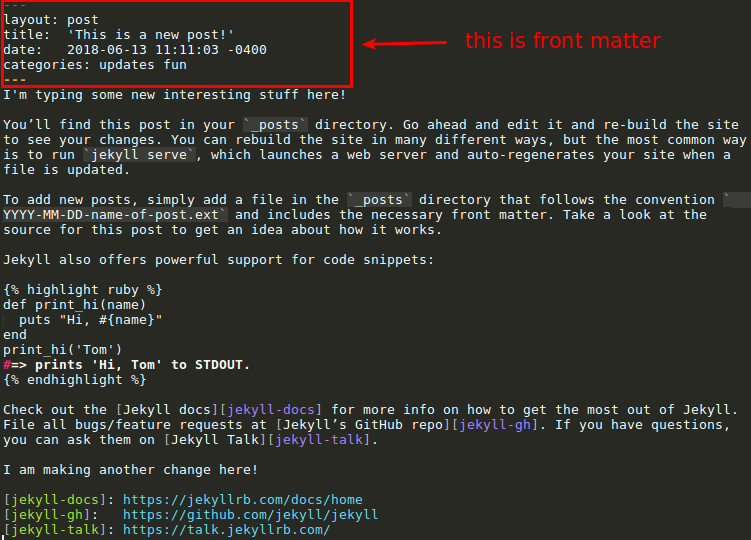
Using another Terminal window or your file explorer, head into the _posts folder of your website. You’ll see a file called YYYY-MM-DD-welcome-to-jekyll.markdown. Open this up in a text editor and give it some edits. Hit save.
Take a look at your Terminal where the server is running - you should see that the edit has automatically been picked up and your file is being regenerated:

Refresh the localhost:4000 site in your browser and click into your post - you should see your changes reflected.
As you can imply, auto-regeneration for your site can be enabled or disabled. I find it useful for doing and previewing changes live.
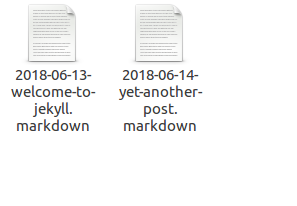
8. Make a new post
You can start from scratch, but I find it easier to copy existing posts.
Inside the _posts folder, copy the YYYY-MM-DD-welcome-to-jekyll.markdown file. Change its filename, perhaps to a different date or a different title.
Change its front matter, which sits between two --- markers at the top of the file. This is what determines the post meta-data: title, date1, permalink, categories, and many other properties.
Again, your running Jekyll server should pick up this new file and generate it into HTML. It will also have updated your homepage to show the new post. Refresh to see it:
8. Upload contents of _site folder to your server!
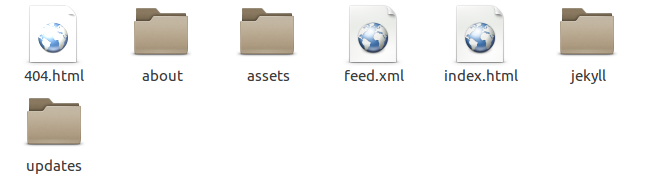
Your site structure is generated into the _site folder. Once you’re happy, everything inside _site should be uploaded to the root of your online site at public_html or equivalent.
You’ll notice some familiar elements, such as index.html. You’ll also notice that some folders have been created for the post categories that we’ve specified in our front matter (i.e. jekyll and updates).
Well done! You’ve just created your first Jekyll blog.
In the next post, I’ll get into customization, editing page templates and CSS, and other useful options.
Notes
1How does Jekyll handle post dates? Does it use the filename?
No. The date in the front-matter is what determines your blog metadata, and it must be entered in the specific format specified in the example post (i.e. 2018-06-13 11:11:03 -0400).
Note that the date in a post filename and the date in the post front-matter do not actually have to match.
So why do we need a date in the filename at all? Jekyll will pick not pick up a post unless its filename is in the format YYYY-MM-DD-name-of-post.ext.
(Jekyll works with other markup languages too, besides Markdown: read this.)
Lastly, a handy feature: default Jekyll behaviour will not display a post that is dated for the future. This means that you can write a future-dated post, and not have it appear on your site until that date arrives.